Six Steps to Taking Better Family Portraits Yourself

We’re all stuck at home and have been now for about what two months? How crazy is that?! Despite the fact that life has seemed to come to a screeching halt around us, there are moments and milestones that come and go no matter what’s happening on in the world. For some, those are big […]
We’re all stuck at home and have been now for about what two months? How crazy is that?! Despite the fact that life has seemed to come to a screeching halt around us, there are moments and milestones that come and go no matter what’s happening on in the world. For some, those are big life milestone moments (baby’s being born, birthdays, for some even weddings). But for each of us, these moments at home all cooped up for days on end are full of moments that while not life altering, still deserve to be documented.
I know you’re not all professional photographers (thank goodness for that or I’d be out of business haha) but since I can’t be there with you guys right now to capture these milestones and moments, I wanted to make sure that you’re still able to stop time and preserve these memories in a way that’s still beautiful. A way that will make you want to print them and get them off your phone.
So here are Six Steps to taking better photos at home. Whether that’s on your phone (more than likely on your phone) or on your DSLR.
Lighting
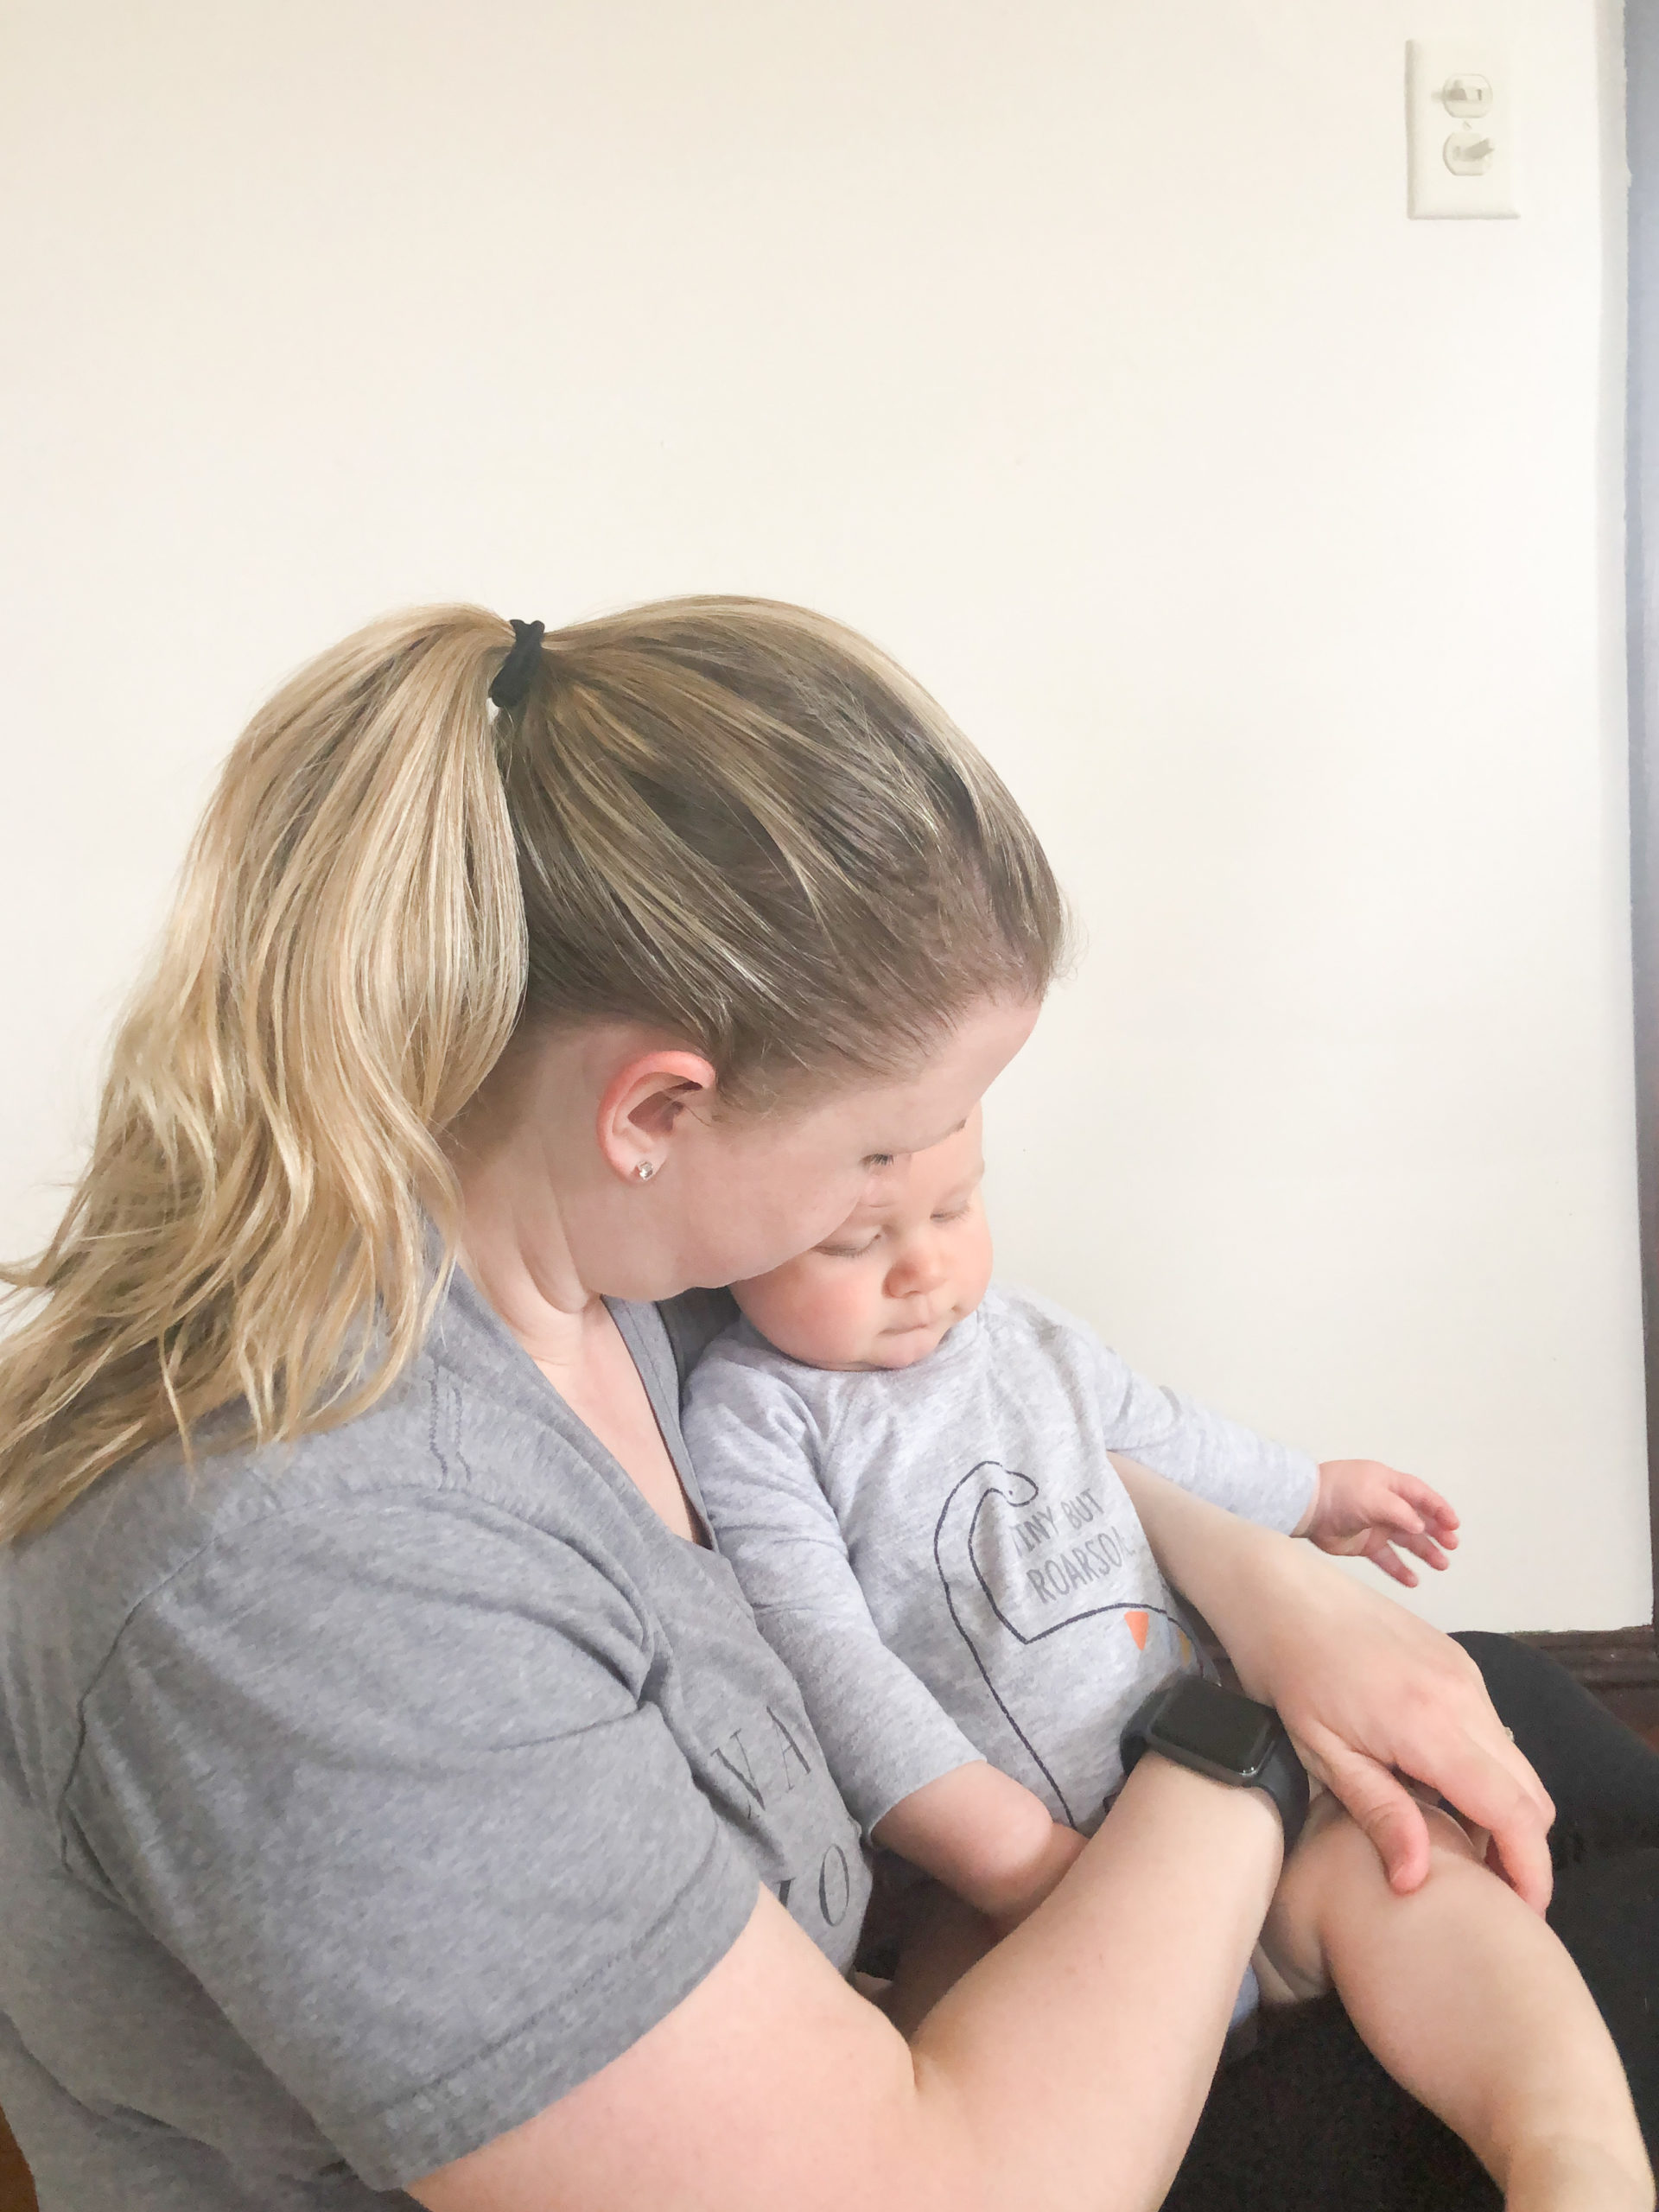
This is the number one most important thing to get right! Even if you rock the 5 other steps but fail here, you just won’t be satisfied. You want as much NATURAL light as possible. Shoot on a day that’s sunny or brightly cloudy. Open all the blinds, all the curtains, go outside. Use all the natural light you can get to fill the room and fill all sides of your subject(s).
Don’t use lamp light. It will tone your images with a yellow tint that you won’t be able to get rid of without professional editing software (or at all if you’re shooting on your phone).
If you’re outside, find a spot with some even shade. Not a spot that has sun poking through the leaves, that’ll put some “hot spots” on your subject.
Select your Background
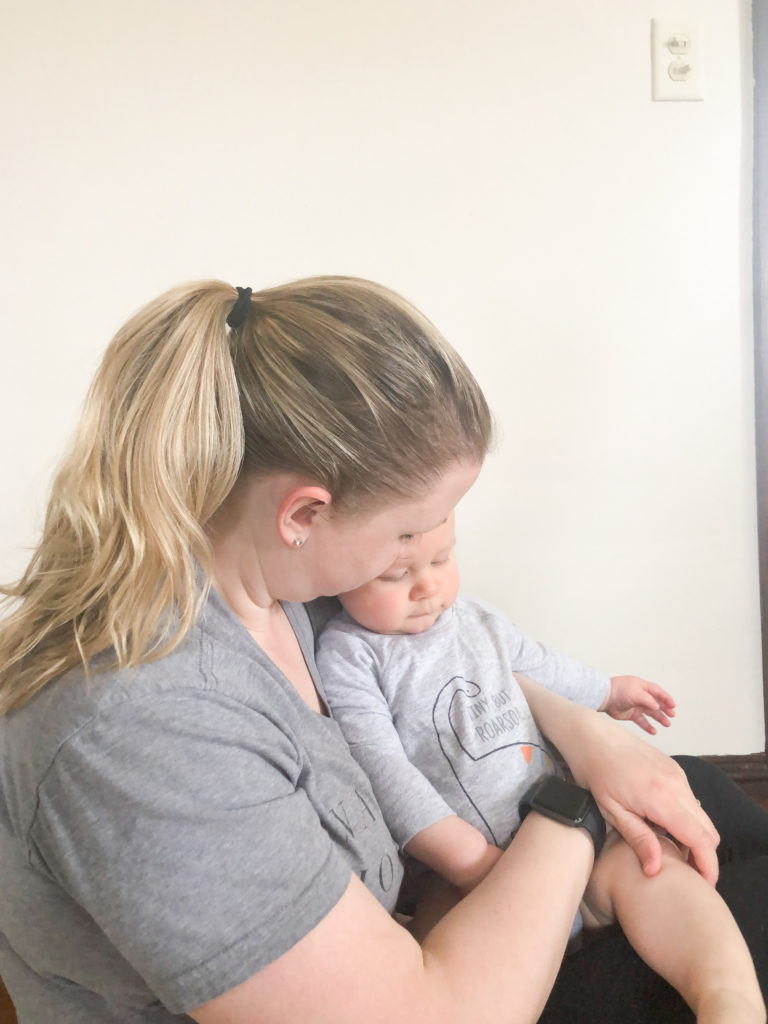
When you’re finding a spot to take the photos, pay attention to the background and what will be going on behind your subject. The easiest selection would be a blank wall. Or if you’re outside, look for an open background. Something that’s not overly crowded with leaves, bushes or trees, etc. Think clean no matter where you go.
Then make sure to have you subject stand away from the background. If you’re using a wall, don’t sit right against the wall. Give yourself two or three feet of space between their back and the wall. This will create a feeling of softness, and ease to your image. Versus having the background on top of your subject will create a feeling of being claustrophobic.

Composition
Ok, now we’re getting into the nitty gritty of photography. You want your portraits to create a feeling and there’s many ways to create the feeling – the emotion your subject is expressing but also with the way you set the image up.
There’s a rule in photography called the rule of thirds. The rule of thirds is a “type of composition in which an image is divided evenly into thirds, both horizontally and vertically, and the subject of the image is placed at the intersection of those dividing lines, or along one of the lines itself.” – SLR Lounge
Basically, it’s ok, actually its visually interesting when the subject doesn’t sit directly in the middle of the frame sometimes.
Another thing to keep in mind, is how and where on a person’s body to crop the portrait. Make sure you don’t crop at the ankle and the wrist. A portrait feels natural being cropped at or right above the knees, hip & waist, bust and elbows. Anything else will feel awkward and like they’re missing parts of their body.
Use the timer
Obviously, you need to be in some images! So use the self-timer that’s on your phone or camera. For iphones, hit the little timer icon at the top of the camera screen and set the timer for 3seconds or 10seconds, then jump in that photo!
If you don’t have an iphone, head to google for a how-to find the timer on your phone or camera.

Keep it natural
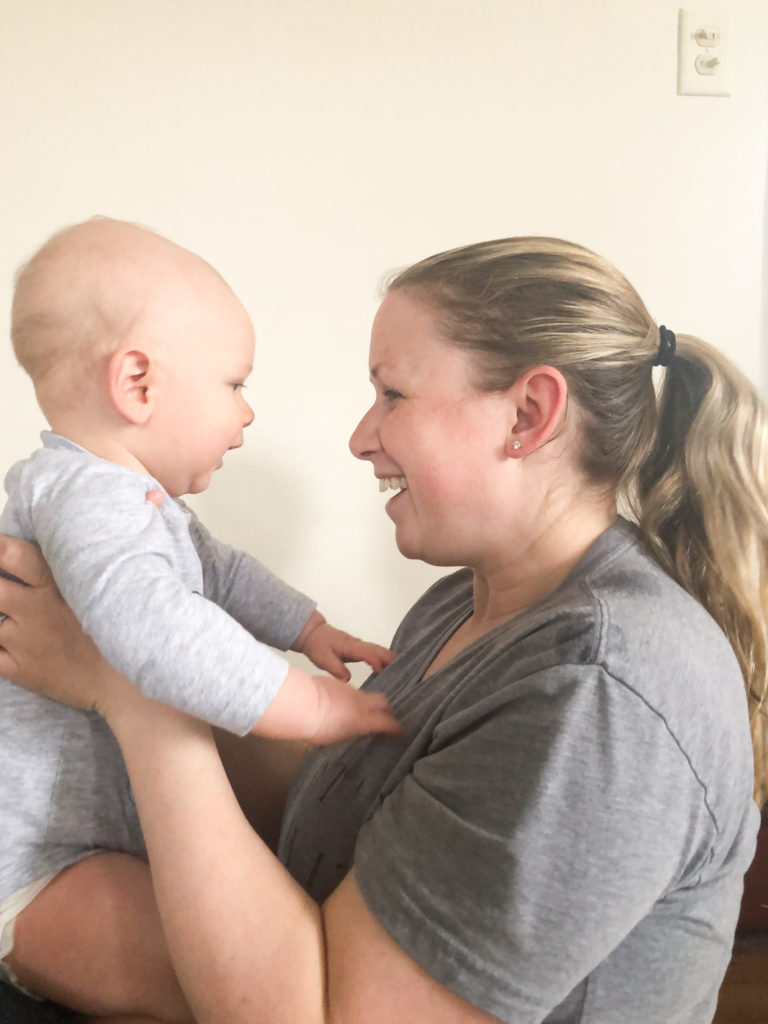
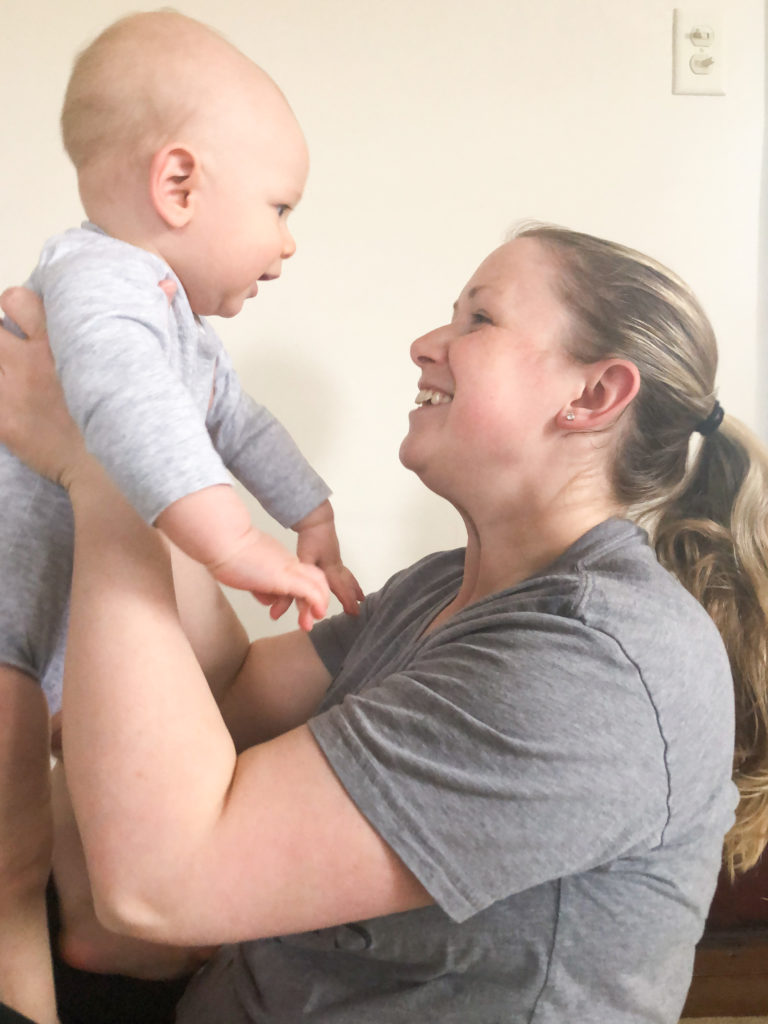
So often during sessions, parents are concerned with getting that shot of their child looking at the camera and smiling. And yes, now that I’m a mom, I get it and understand the want and desire for that shot. But don’t discount and forget the quality and importance of capturing moments of the kids playing. Of you playing with them and interacting with them. You don’t have to always be looking at the camera. Honestly, if you give them space to play and have fun and be goofy with you and each other, you’ll get some real smiles out of them and the experience will be so much more enjoyable.
Have a tickle fight. Snuggle each other. Tell each other jokes. Let them run at the camera. Tell them to twirl for the camera.
And of course, as long as the moment is captured, you’re good! Even if it’s not perfect, we can do some editing magic on it and it’ll be beautiful.

If you liked these Six Steps to Taking Better Family Portraits Yourself, you should also read:
Top Eight Tips for Making Photos with Kids Easier
The Best Time of Day For Photos
How to Back Up Your Images
[…] you found these Best Prop Ideas for Family Photos helpful, you might also find these posts helpful: Six Steps for Taking Better Family Portraits Yourself Top 8 Tips for Making Photos with Kids Easier How to Find the Perfect Photo Shoot […]
[…] you found this list of Must Have Baby Items helpful, you might also find these helpful: Six Steps to Taking Better Family Portraits Yourself Top 8 Tips for Making Photos With Kids Easier Nesting Days | Petal Pink Newborn […]